ebay
-
Posts
369 -
Joined
-
Last visited
-
Days Won
12
Content Type
Profiles
Forums
Events
Articole
Media Demo
Everything posted by ebay
-
Problemele se acumulează, soluțiile nu. Eu aș trece la RR, că este tot din același grup...
-
Hai la Shanghai... https://www.instagram.com/reel/DEIZQW2Tjia/?igsh=MTNsOW9iazVnajhsOQ==
-
Păi te-ai aruncat la cea mai tâmpită variantă, 3 turbine, probleme exponențiale. Sigur că trage ca un tren, dar numai când merge ! Pe de altă parte, 40i are motorul B58, probabil cel mai bun motor pe benzină al firmei. Mănâncă cam mult, dar probabil ai bani de gaz. Dar mașina trebuie să o verifici temeinic. Citește articolul, dacă nu știi engleză tradu pagina cu google. https://www.euroautopro.com.au/post/common-problems-of-bmw-x5-f15-m50d-a-comprehensive-guide
-
-
Ți-a declarat bateria nouă în computerul mașinii ?
-
Mergi cu altele și verifică și închiderea ușilor, platnicele de pe stâlpi se reglează. Împinge de uși când sunt închise să vezi dacă au joc, adică dacă mai permite mișcarea platnicului înăuntru. Șuierat la geamuri-uși n-am avut încă.
-
Vă trebuie un amic (sau service, care nu costă mult dacă nu este firmei mamă) care are pe laptop un soft dedicat (ISTA) sau cineva cu un modul OBD plus bimmercode + bimmerlink, care sunt aplicații. Cei care montează baterii acasă au ce le trebuie. Căutați în localitatea în care sunteți, pe OLX, întrebând amicii, de cineva care schimbă baterii cu soft sau care programează BMW.
-
Nu știu, mai mergi cu una - două din aceeași gamă, benzină sau diesel, că la turație oricum nu se simte, poate este altceva. 150 este viteza la care nu se aude mai nimic. Poate și asfaltul să fie o problemă, în Italia era excepțional de lis și drept, în Franța și Grecia nu prea... Nu face zgomot rulmenții, cutia de transfer sau grupurile față sau spate? În SUA au class action pe cutiile de transfer, dar alea croncăne, nu șuieră. Rulmenți, diff, cardan..??
-
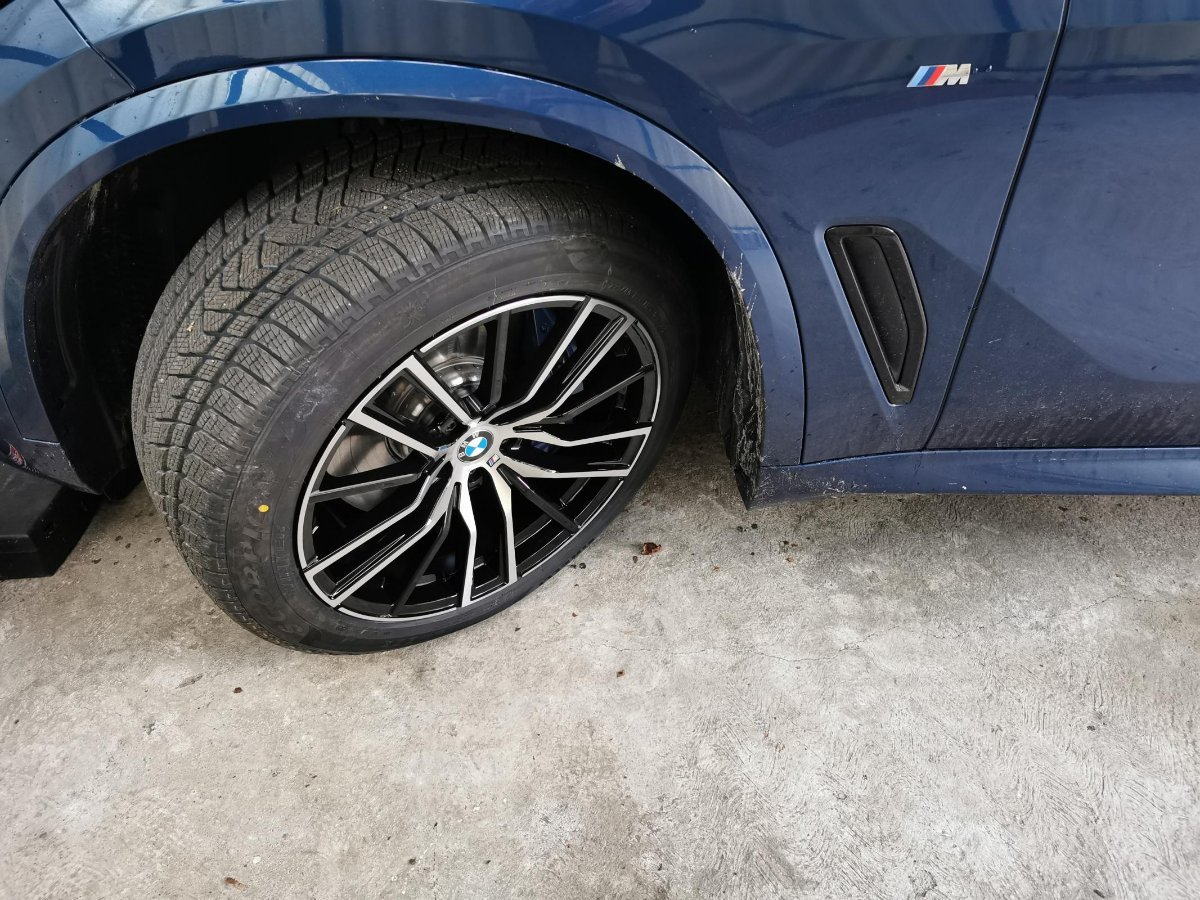
Vin așa pentru eliminarea roții de rezervă, nu mai știe nimeni să schimbe o roată de rezervă și oricum nu se fac pene, în lumea civilizată. Dinamica diferită se setează din amortizoare sau perne plus soft. Am peste 200.000 cu tubeless și nici o pană, confort maxim însă. Am un kit de pană preventiv și un compresor decent. Nu le-am folosit, dar le țin acolo.
-
Da. Si dacă nu sunt RFT, cum mi-am pus eu, profilul produce zgomot la viteze de peste 180.

-
-
Ai înregistrat bateria cu un software, ceva?
-
Pentru cei interesați BMW_48V vehicle electrical system.pdf
-
Decodează VIN-ul cu mdecoder.com sau ce merge și vezi dacă opțiunea este reală. Sau verifică factura originală, dar mă îndoiesc că ai. Sau verifică cu bimmerlink, dar aici trebuie modul plus aplicație...
-
Dar de ce continuăm cu RFT? Să ne rupem spinarea prin gropi?
-
52 14 ...Removing and installing outer upper rail trim with electric anchor fitting tensioner (from 04/2004) Driver's seat only: Note: Version with anchor fitting tensioner from 04/2004. Lever trim (3) out of seat mechanism: upwards, slide towards rear and feed out of anchor fitting tensioner. Installation: Secure plug connection with felt strip against unlocking. Lock on plug connection to anchor fitting tensioner can be unlocked when trim is fitted. Pretensioner și centură scaun față 72 11 050 Removing and installing.docx
-
Trebuie să ai opțiunea S3KA - Acoustic confort glazing, care a fost trecută când am comandat mașina. Poți verifica dotările cu factura sau un decodor de vin, de ex. mdecoder.com. Se aude șuierat, dar la peste 200
-
Userul DJS caută auto, nu eu...

-
X3 mai decent, nu încerca X5 cu motoarele de 2 litri, au fost un fiasco....
-
Cam bătrânicioasă mașina. dar este o problemă de buget și gust. Unul din motivele care îmi place BMW este nu există problemă să nu găsești răspuns, este probabil cea mai crack-uită marcă, softuri de reparații, programare, orice, în multe limbi, mai ales engleză. Dacă ai cunoștințe decente de mecanică, softuri și câteva scule, nu ai de să să mergi la service, faci totul acasă. Despre VAG nu mă pronunț, nu a fost niciodată pe lista mea scurtă.
-
Is the BMW xDrive40e plug-in hybrid a good used buy? Unless you have the ability to charge it up regularly – and at low cost – the plug-in hybrid xDrive40e is the weakest model in the range, and falls short of the standards set by the best used plug-in hybrids. It loses some boot space, adds complexity, and isn’t particularly economical when the battery has been depleted. If you regularly make short drives, have a driveway and sustainable green energy gadgets such as powerbanks and solar panels, then it might make sense. Citește articolul întreg aici, dă-i google translate la pagină https://www.parkers.co.uk/bmw/x5/4x4-2013/used-review/ Aș fugi de acest model. De abia modelul G05 50e actual este cât de cât ok, dar valoare de revânzare este catastrofală. Numai bateria costă între 10 și 15 mii euro, și la 10 ani o schimbi....
-
Intre 100-160.000 km și este cam 2500 lei, plus minus Mai subțire la rece, la cald are aceeași proprietăți. Lucrează cu 5W că este mai ieftin butoiul, de aia...
-
De ce nu încerci in G05 MHEV după august 2020, este o mașină total diferită (în bine). No enough money?
-
Dar de ce pui ulei mai gros, este foarte uzat motorul, se aud zornăituri? Un service mic și decent este acesta, https://www.axm-service.ro/ , îți pune ce ulei vrei, toate originale BMW.
-
Cred că a fost o combinație de factori, poate a avut ceva dezactivat (nu știu de ce ai face așa ceva pe acest tip de drum , dar nu exclud), poate anvelope nașpa, nu cred că de vară dar se va vedea la anchetă, dacă a mai rămas ceva sau poze făcute de amici/cunoștințe anterior. Este ciudat modul cum s-a lipit cu lateralul la revenirea din depășire, nu s-a activat detecția de obstacole, dar de ce a derapat? A tras prea tare de volan și DSC-ul nu a avut timp să intervină? Ceva nu a fost în regulă.